Laser Pointer Light Painting: The Complete Photography Guide
Learn how to use laser pointers for light painting photography. Complete guide covering wavelength selection, camera settings, safety data from FDA and ILDA, and creative techniques for stunning long-exposure laser photos.
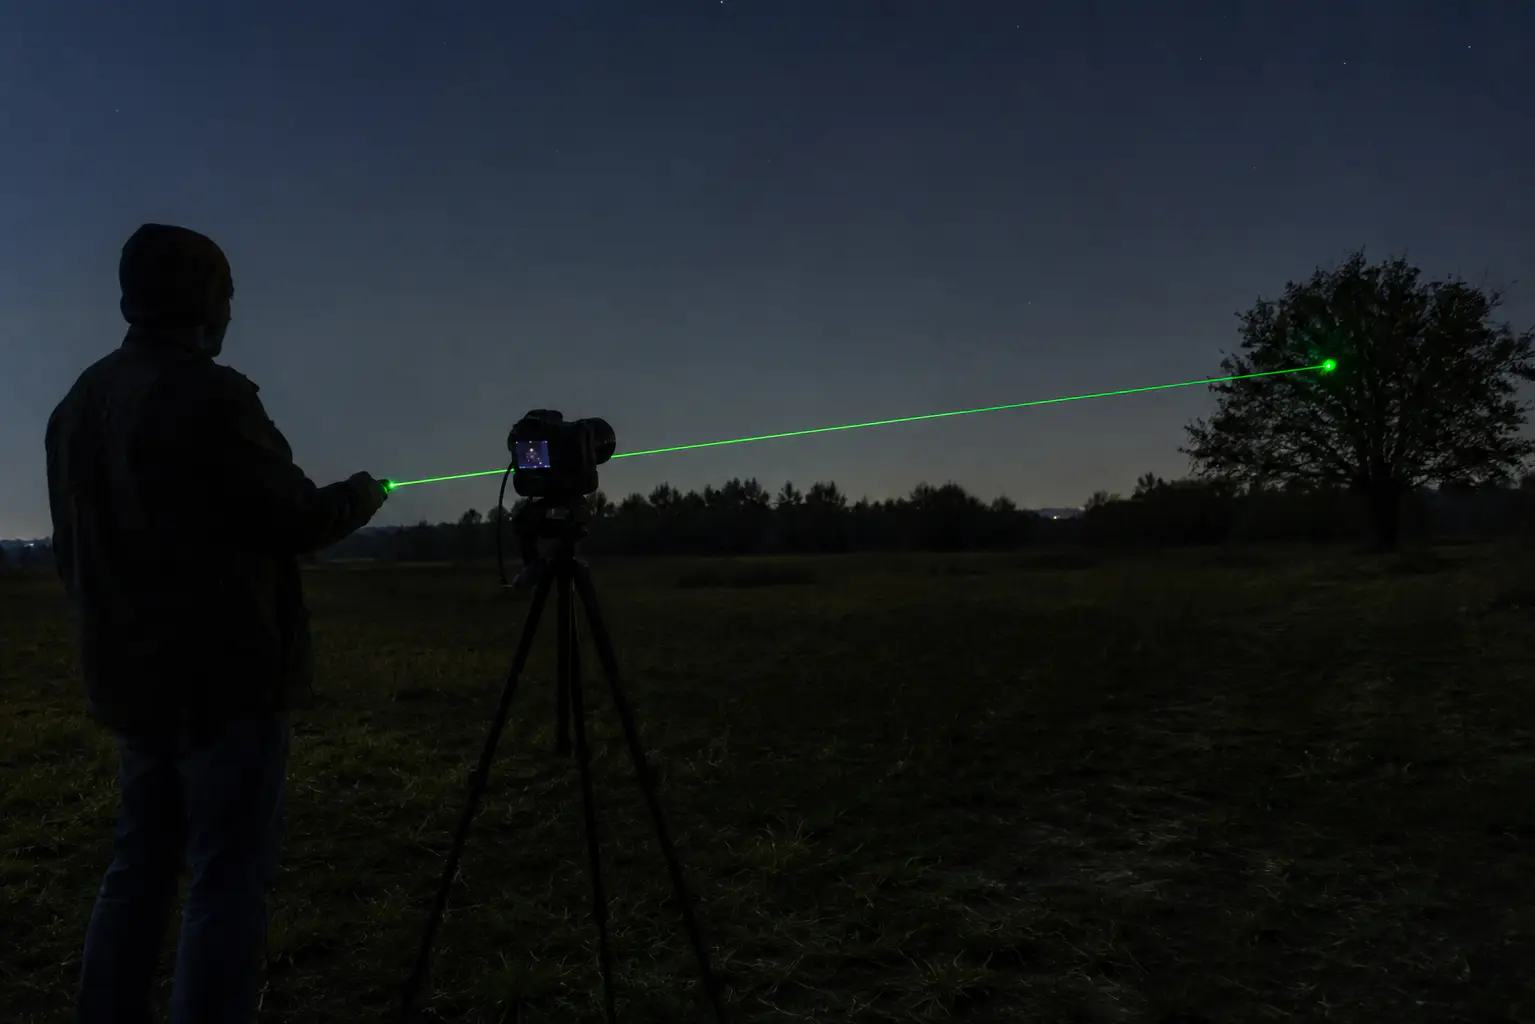
Image Gallery
Laser pointer light painting photography is the technique of using a handheld laser beam as a light source during a long-exposure photograph, creating visible light trails, patterns, and effects that standard light sources cannot produce. The laser's concentrated, single-wavelength beam creates lines far thinner and more saturated than any LED or flashlight-based light painting tool, and with the right accessories, it splits into stars, grids, and geometric patterns impossible to achieve any other way.
If you have ever tried light painting with a laser and ended up with shaky lines, overexposed frames, or a green beam that refuses to show up in the cold, you are not alone. These are the exact problems that no basic photography tutorial addresses. This guide combines camera technique with actual laser engineering data, wavelength behavior, power rating realities, sensor damage thresholds, and legal boundaries, to give you something no other article provides: a complete decision framework that starts with what you want to photograph and ends with the right laser, the right settings, and the right safety measures.
Key Takeaways
- Green 532nm lasers produce the brightest visible beam for light painting, but DPSS green lasers fail below freezing, use direct-diode 520nm for cold-weather shoots
- FDA tests show approximately 60% of consumer laser pointers exceed their labeled power, directly affecting exposure control and sensor safety
- Mirrorless camera sensors have no mechanical shutter protection; ILDA data shows CMOS damage begins at 40,000-60,000 W/cm² for a quarter-second exposure
- The "last-second trigger" technique prevents the 20x brightness accumulation that makes laser trails look unnaturally thick
- Diffraction grating caps (star caps) transform a single beam into multi-point patterns, creating effects like laser webs and starfields
What Is Laser Pointer Light Painting Photography and How Is It Different?
Light painting is a photographic technique that uses a moving light source during a long exposure to "draw" in the frame. What makes laser pointer light painting distinct from LED- or flashlight-based painting comes down to three physical properties.
First, beam thickness. A collimated laser beam can be as narrow as 1-2 millimeters at the aperture, producing lines on the final image that are dramatically thinner than anything an LED panel or Pixelstick can create. This allows detail work like writing text, drawing fine geometric patterns, or creating hair-thin accent lines alongside thicker light sources.
Second, color purity. Each laser wavelength produces a single, spectrally pure color. A 532nm green laser emits at exactly that wavelength, not a broad spectrum that shifts with brightness. This means the color in your final RAW file is predictable and can be white-balanced precisely, unlike LED sources whose color temperature varies with power level.
Third, diffraction optics. Screw a diffraction grating cap onto a laser pointer and a single beam splits into an array of points: stars, grids, concentric circles, or custom patterns. No other light painting tool can do this with a single light source. The Belgian light painter Pala Teth demonstrated this in his "Laser Web" series: a green laser with a diffraction cap mounted on a light stand, combined with smoke and a Camera Rotation Tool rotating the camera six times at 60-degree intervals. The result was a single-frame geometric laser web at f/5.6, ISO 800, 21mm, over a 192-second total exposure.
Choosing the Right Laser for Light Painting: Wavelength and Power
Not every laser produces the same light painting result. The wavelength determines what the beam looks like to the camera, how bright it appears in the final image, and how it behaves in different temperatures.
Green (532nm and 520nm)
Green at 532nm is the standard recommendation for light painting because the human eye's photopic vision peaks at 555nm. A 5mW green laser appears brighter than a 5mW laser of any other visible color.
There is a catch specific to light painters working outdoors: 532nm green lasers use DPSS (diode-pumped solid-state) technology, which relies on a frequency-doubling crystal that is temperature-sensitive. Below approximately 0°C, the crystal's conversion efficiency drops sharply, and the laser may output little to no visible green light while still emitting invisible infrared that can damage eyes and camera sensors.
Cloudynights forum users have documented this failure mode extensively: "your green laser will appear to work very poorly in the cold. If it's too cold to convert the beam from IR to green, it will simply absorb the IR light with no output" (source).
For cold-weather light painting, a 520nm direct-diode green laser such as the Laserpointerhub B025 avoids this entirely because there is no frequency-doubling crystal, the diode emits green directly, and its output is stable down to much lower temperatures.
Blue (445nm and 450nm)
Blue lasers at 450nm produce a beam that appears dimmer than green at the same power to the human eye, but the camera sensor sees it differently. In long exposures, the blue channel in most CMOS sensors has the highest quantum efficiency, meaning a 1.6W blue laser like the Laserpointerhub B017 can produce a surprisingly bright line in the final image despite looking moderate to the naked eye.
Blue also creates visual separation when used alongside green or red in multi-color compositions. A 450nm blue laser in the 1.6W range offers a useful intermediate power level for light painters who want visible beam without the extreme power of multi-watt units.
Red (650nm)
Red lasers are the least visible to both eye and sensor at equal power, but they produce a distinct warm color that separates well from natural backgrounds in outdoor night photography. For light painters working with a single model, a red laser used as a side- or back-light creates depth separation between the subject and the laser patterns in front.
What Power Level Do You Actually Need?
For indoor light painting in a dark room, a standard 5mW green laser with a diffraction cap is sufficient. The beam is visible in the final image, and the lower power reduces risk to eyes and sensor. For outdoor work where ambient light competes, or for light painting where the laser must illuminate smoke or fog, power levels of 200mW to 1.6W in the appropriate wavelength produce significantly better results. The Laserpointerhub B030 (520nm green, 1W) provides a useful balance for outdoor light painting with the temperature stability of direct-diode emission.
Camera Settings for Laser Pointer Light Painting Photography
The camera settings for laser light painting follow the same principles as general light painting, with one critical difference: the laser beam is much brighter than it appears to your eye.
Base Settings
Set your camera to Manual mode. ISO 100-200. Aperture f/8 to f/16. Shutter speed 10 to 30 seconds as a starting point, or Bulb mode for longer exposures. Shoot in RAW.
Disable lens stabilization and long-exposure noise reduction, the camera takes a second dark frame equal to the exposure time, which is fine for a single shot but impractical for multi-frame composite techniques. Focus manually: shine a flashlight on the subject or a marker at the painting distance, autofocus, then switch to manual focus lock.
The Exposure Trap
Most new laser light painters overexpose their first frames. The reason is counterintuitive: the laser beam is so concentrated that a 20-second exposure with the laser on for the full duration records approximately 20 times more light from the beam path than a 1-second exposure of the same beam. Laser Pointer Forums user Gsquared18 documented this precisely: shooting with a 150mW Optotronics at f/13, ISO 1000, 52 seconds, he turned the laser on for only the last 1 second of the exposure. The result was a clean, natural-looking beam line.
This "last-second trigger" technique is the single most effective control for beam brightness. Turn the laser on only when the beam is in its final position. For writing or drawing, trigger the laser in short bursts as you move, rather than holding it on continuously.
Focusing in Darkness
Autofocus fails in complete darkness. Use a bright flashlight to illuminate the area where the laser pattern will appear, autofocus, then switch to manual focus and lock it. If you are using a zoom lens, set the focal length before focusing, varifocal zooms shift focus as you zoom. A bright flashlight aimed at the focus area is the standard method used by light painting photographers.
Essential Accessories for Laser Light Painting
Diffraction Grating Caps (Star Caps)
A diffraction grating cap threads onto the laser pointer's head and splits the beam into multiple points. The most common pattern produces a star-field effect. Pala Teth's laser web technique uses a diffraction cap to create multiple converging beams that form a geometric net when combined with camera rotation. Our laser pointer diffraction caps guide covers the different pattern types and how to choose one for your intended effect.
Tripod Mount for the Laser
Handheld laser lines are always shaky, as r/Laserist user Connect-Peace-2951 described: "the issue I've had in the past using handheld sources of light is that it's always 'shaky' in the line work" (source). A second tripod with a standard camera clamp or a purpose-built laser mount eliminates this. The laser pointer mounts and brackets guide covers mounting options ranging from hardware-store conduit hangers to dedicated telescope brackets.
Smoke or Fog
Invisible in clean air, the laser beam becomes dramatically visible when it passes through suspended particles. A fog machine or smoke generator is the single biggest visual upgrade you can make for indoor laser light painting. For outdoor work, natural humidity or dust provides some beam visibility, but a portable fog machine run off a battery pack produces the most consistent results.
Safety First: Eyes, Camera Sensors, and the Law
This section contains information that no other light painting tutorial covers comprehensively. Every light painter should understand these risks before their first shoot.
Camera Sensor Damage
Directing a laser beam into a camera lens can permanently destroy the sensor. The International Laser Display Association (ILDA) publishes specific threshold data: a color CMOS sensor begins to sustain damage at approximately 40,000 to 60,000 W/cm² in a 0.25-second exposure. CCD sensors are more vulnerable at roughly 9,000 W/cm² in 5 to 10 seconds (source).
A mirrorless camera has no mechanical shutter or mirror to block the beam between the lens and the sensor, making it more vulnerable than a DSLR. An ND filter does not provide meaningful protection, it reduces visible light by a fixed factor but does not reduce the energy density of a focused laser beam enough to prevent damage.
Eye Safety and the Reality of Labeled Power
The FDA limits consumer laser pointers to 5mW under 21 CFR 1040.10 and 1040.11. However, a 2013 study cited by the American Academy of Ophthalmology found that approximately 60% of sampled laser pointer products sold online exceed their labeled power (source). A laser labeled "5mW" may output 30mW or more. The study documented 14 eye injury cases, with 71% requiring vitrectomy surgery.
A more recent 2025 case series published in the Journal of Lasers in Medical Sciences reported 32 retinal injury cases from a single clinic over 12 months, including 5 cases of subretinal hemorrhage and 3 cases requiring surgical intervention (source).
Never point a laser at anyone's eyes. Never assume the label power is accurate. If you are using a laser above 5mW for light painting, wear laser safety glasses rated for your specific wavelength, and ensure no one in the shooting area is at eye level with the beam path. Our laser safety glasses guide covers how to select the right optical density for your laser wavelength.
Legal Risks of Outdoor Light Painting
Pointing a laser at an aircraft is a federal crime. The FAA reported 12,840 laser strike incidents in 2024, with civil penalties up to $11,000 per incident and up to $30,800 for repeat offenses (source). Outdoor light painting near airports, flight paths, or in areas with low-flying aircraft carries real legal risk.
If you are shooting outdoors, keep the beam low, point it at the ground or a nearby surface, and avoid any upward angle that could intersect with airspace. Our complete guide to laser pointer safety covers regulatory requirements across different jurisdictions.
Creative Techniques to Try
These techniques go beyond basic light painting and take advantage of the laser's unique optical properties.
Laser Web (CRT Rotation)
Mount a green laser with a diffraction cap on a light stand in a smoke-filled room. Set your camera on a rotation turntable or a Camera Rotation Tool. Shoot six exposures at 60-degree intervals, each 6-7 seconds, and composite them in-camera or in post. The diffraction cap creates multiple converging beams that form a three-dimensional net.
Writing with Light
Writing text with a laser pointer is harder than it looks. The key problem: you cannot see the camera's frame boundaries in the dark. Light painters have documented this challenge: "I cannot gauge the edge of the camera's frame in the dark which makes writing really difficult." Solution: place physical markers (glow-in-the-dark tape or small LED markers) at the four corners of your frame before darkening the room. Write each letter in a single continuous motion with the laser triggered only while the beam is in position.
Multi-Wavelength Compositions
Use two or more laser wavelengths in a single frame. A 532nm green, 450nm blue, and 650nm red produce distinctly different colors in the final RAW file. The blue channel in a CMOS sensor is the most sensitive, so a lower-power blue laser can balance visually with a higher-power green. White balance for the green channel, then adjust the blue and red saturation in post-processing for a natural look.
Laser pointer light painting photography opens creative possibilities that no other light source can match: sub-millimeter beam lines, spectrally pure colors, diffraction patterns that turn a single dot into a starfield, and the ability to paint with wavelengths your eye sees differently than the camera sensor. The key to great results lies in matching your equipment to your environment, a direct-diode 520nm green for cold outdoor shoots, a blue 450nm for sensor-efficient brightness, and always a tripod mount for steady lines.
Start with a 5mW green laser and a diffraction cap in a dark room. Master the last-second trigger technique. Then expand into multi-wavelength compositions and CRT rotation as your confidence grows. Browse Laserpointerhub's collection of green and blue lasers for your next light painting project.
Frequently Asked Questions
Can a laser pointer damage a camera sensor?
Yes. High-power lasers can permanently damage CMOS and CCD sensors. The ILDA specifies that CCD sensors can be damaged at approximately 9,000 W/cm² in 5-10 seconds. Mirrorless cameras are especially vulnerable because there is no mirror or shutter between the lens and the sensor. Never point any laser directly into a camera lens (source).
What is the best laser color for light painting photography?
Green (532nm) produces the brightest visible beam at equal power because the human eye's peak sensitivity is at 555nm. Blue (450nm) appears dimmer to the eye but is captured efficiently by camera sensors. Red (650nm) is the least bright but provides useful color separation. For cold-weather outdoor shooting, choose a direct-diode 520nm green laser instead of a DPSS 532nm to avoid temperature-related power loss.
Why does my green laser stop working in cold weather?
Most 532nm green lasers use DPSS technology with a temperature-sensitive frequency-doubling crystal. Below freezing, the crystal cannot efficiently convert the infrared pump light to green output. The laser may appear to stop working while still emitting invisible infrared light that can damage eyes and sensors. A 520nm direct-diode green laser does not have this limitation.
Is it safe to use a laser pointer outdoors at night?
Outdoor laser use carries legal risks if the beam intersects with aircraft airspace. FAA penalties for pointing a laser at an aircraft reach $11,000 per incident. Keep the beam low, point at the ground or nearby surfaces, and avoid any upward angle. Check local laws before outdoor light painting sessions (source).